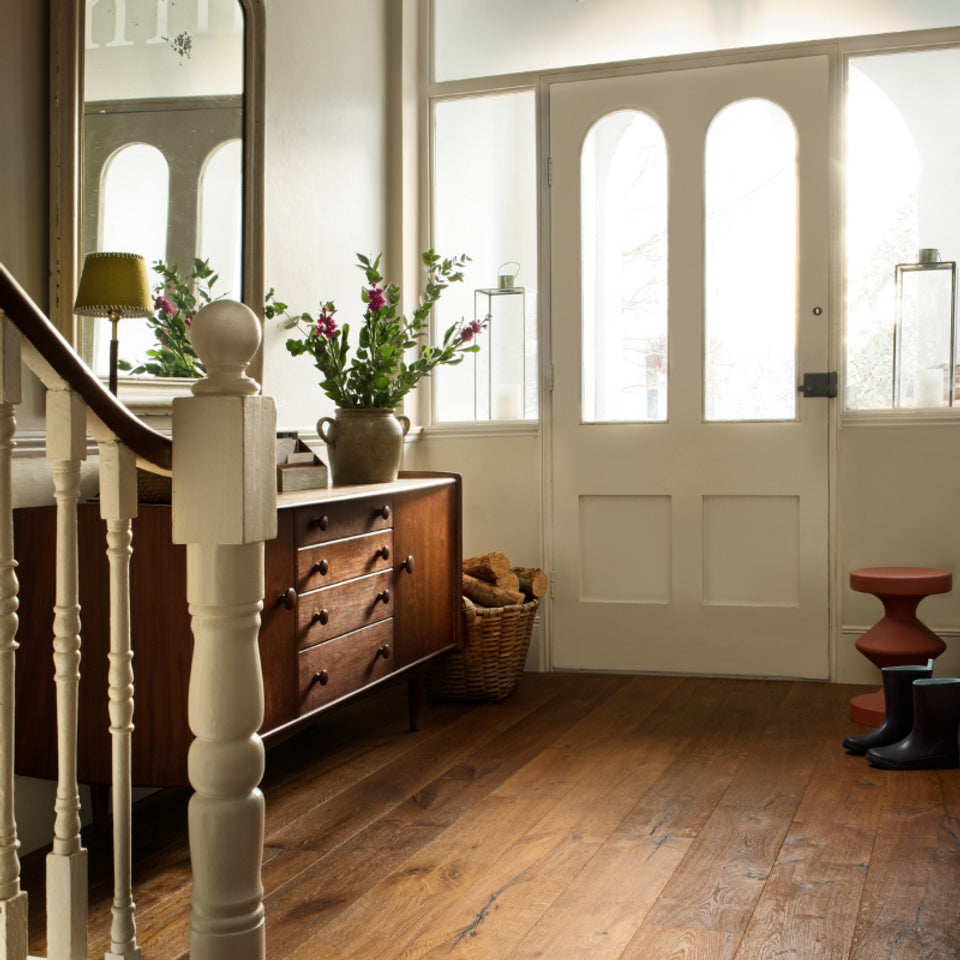
Discover Our DIY Friendly Flooring

DIY season is here and we have a range of DIY flooring options that can be laid quickly and professionally with a little know-how and the right tools for the job.
If you're renovating your home this Spring we've got you covered with our range of easy to install flooring options.
DIY Engineered Wood
Our engineered wood collections have all been expertly manufactured with a tongue & groove installation system so that each of the planks simply click together for a flush finish. Not only does this ensure a stable and even floor, it also makes for quick and hassle-free fitting.
Engineered wood flooring does not require adhesive so is far less time consuming than stuck down flooring options. The only exception is with parquet or herringbone designs, where we would usually recommend using adhesive to ensure a stable base, since more movement is possible with these styles. However, standard plank wood floors should be laid directly on top of a suitable underlay.
DIY Flooring Tips
Fitting a floor yourself does require a little technical know-how, patience and some decent DIY skills. If you're not a confident DIY-er, it's probably best to leave it to the professionals. However, if you feel you're up to the challenge there are some things you need to keep in mind in order to achieve a professional finish.
1. Ensure The Sub-Floor Is Properly Prepared
Neglecting to prepare the subfloor properly can lead to issues such as uneven flooring, squeaking, or buckling. For surfaces that are uneven, a levelling compound will be required prior to installation of the underlay and new floor.
2. Allow Your Floor To Acclimatise
All of our flooring needs to acclimatise to the room's temperature and humidity level for at least 48 hours before installation. Failing to do so can cause the flooring to expand or contract after installation, leading to gaps or buckling.
3. Ensure You Have The Correct Tools
You will need a few essential tools for your installation, such as underlay, a wood saw, spacers and tapping block to get the job done professionally and efficiently. If these items are not used, it can lead to an uneven surface or even damage the planks during installation.
4. Leave An Appropriate Expansion Gap
Wood flooring must have an expansion gap around the perimeter of the room and any fixed objects, like columns or fireplace hearths. This is because flooring made from wood can be prone to slight swelling in increased humidity. Always use spacers around the perimeter of the room when installing this type of flooring.
Our technical team are on hand to provide you with any installation advice you may need and answer any questions. Feel free to give us a call or drop us an email and we will be happy to help out.
Happy DIY-ing!


